Pick onsets and phases of events.
Event picking
On this page
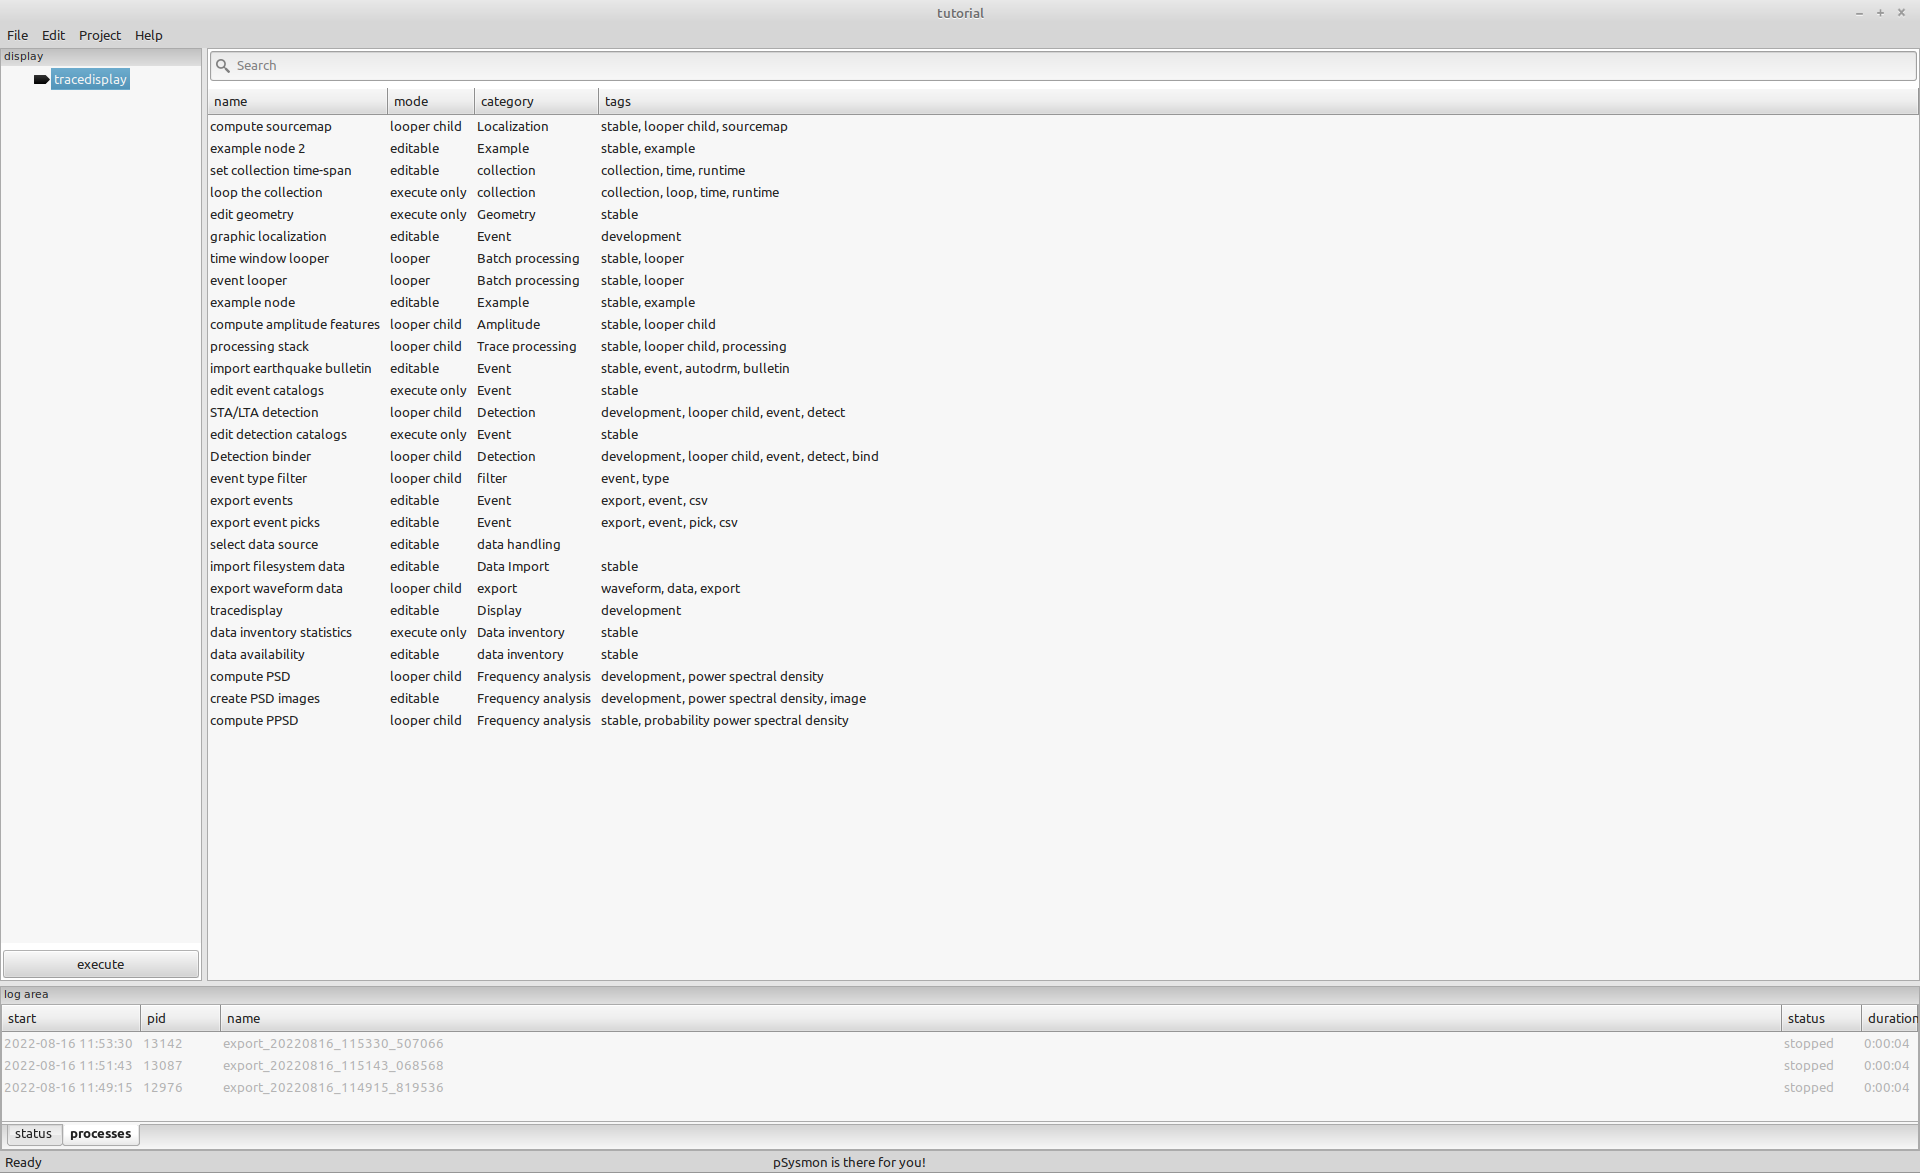
Open tracedisplay
Load the display collection and execute it to open the tracedisplay window.
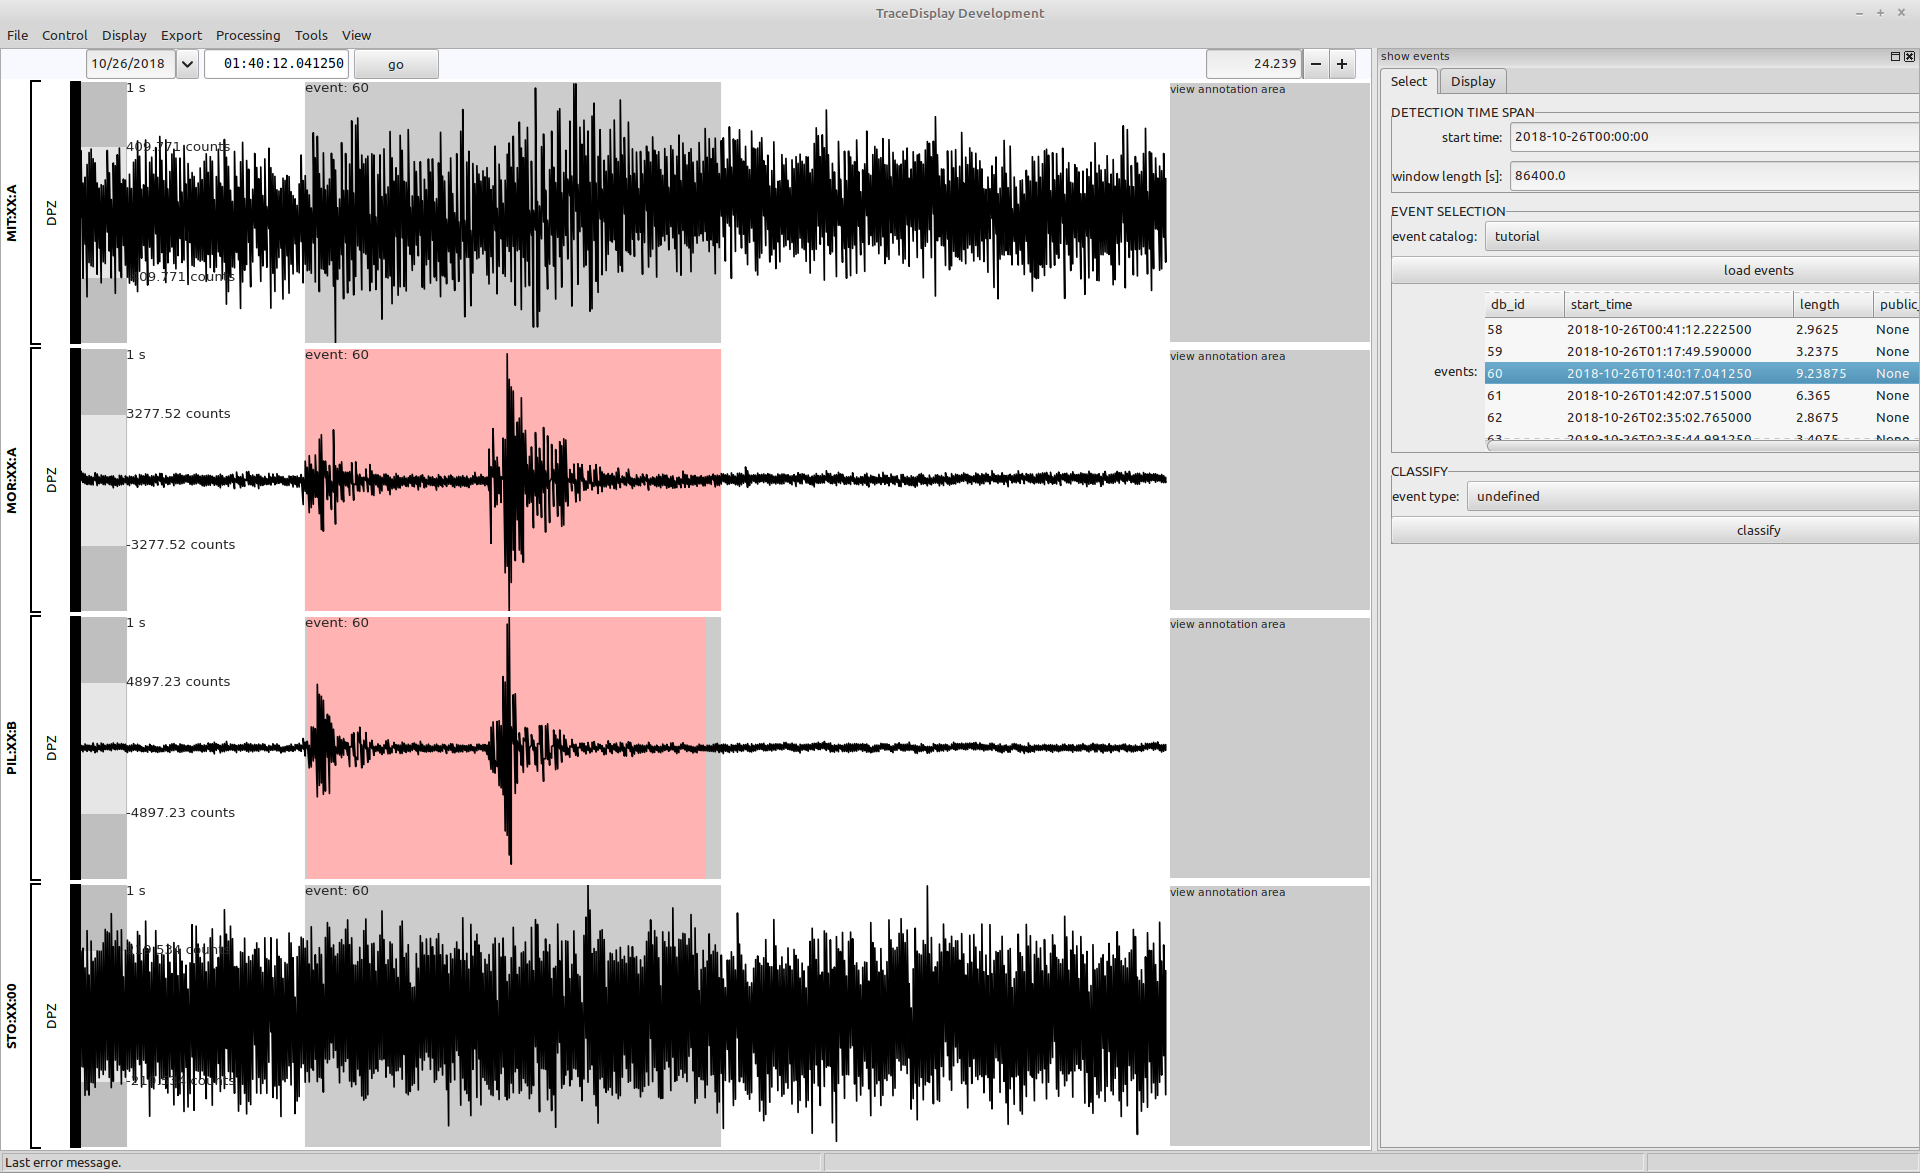
Display event with id 60
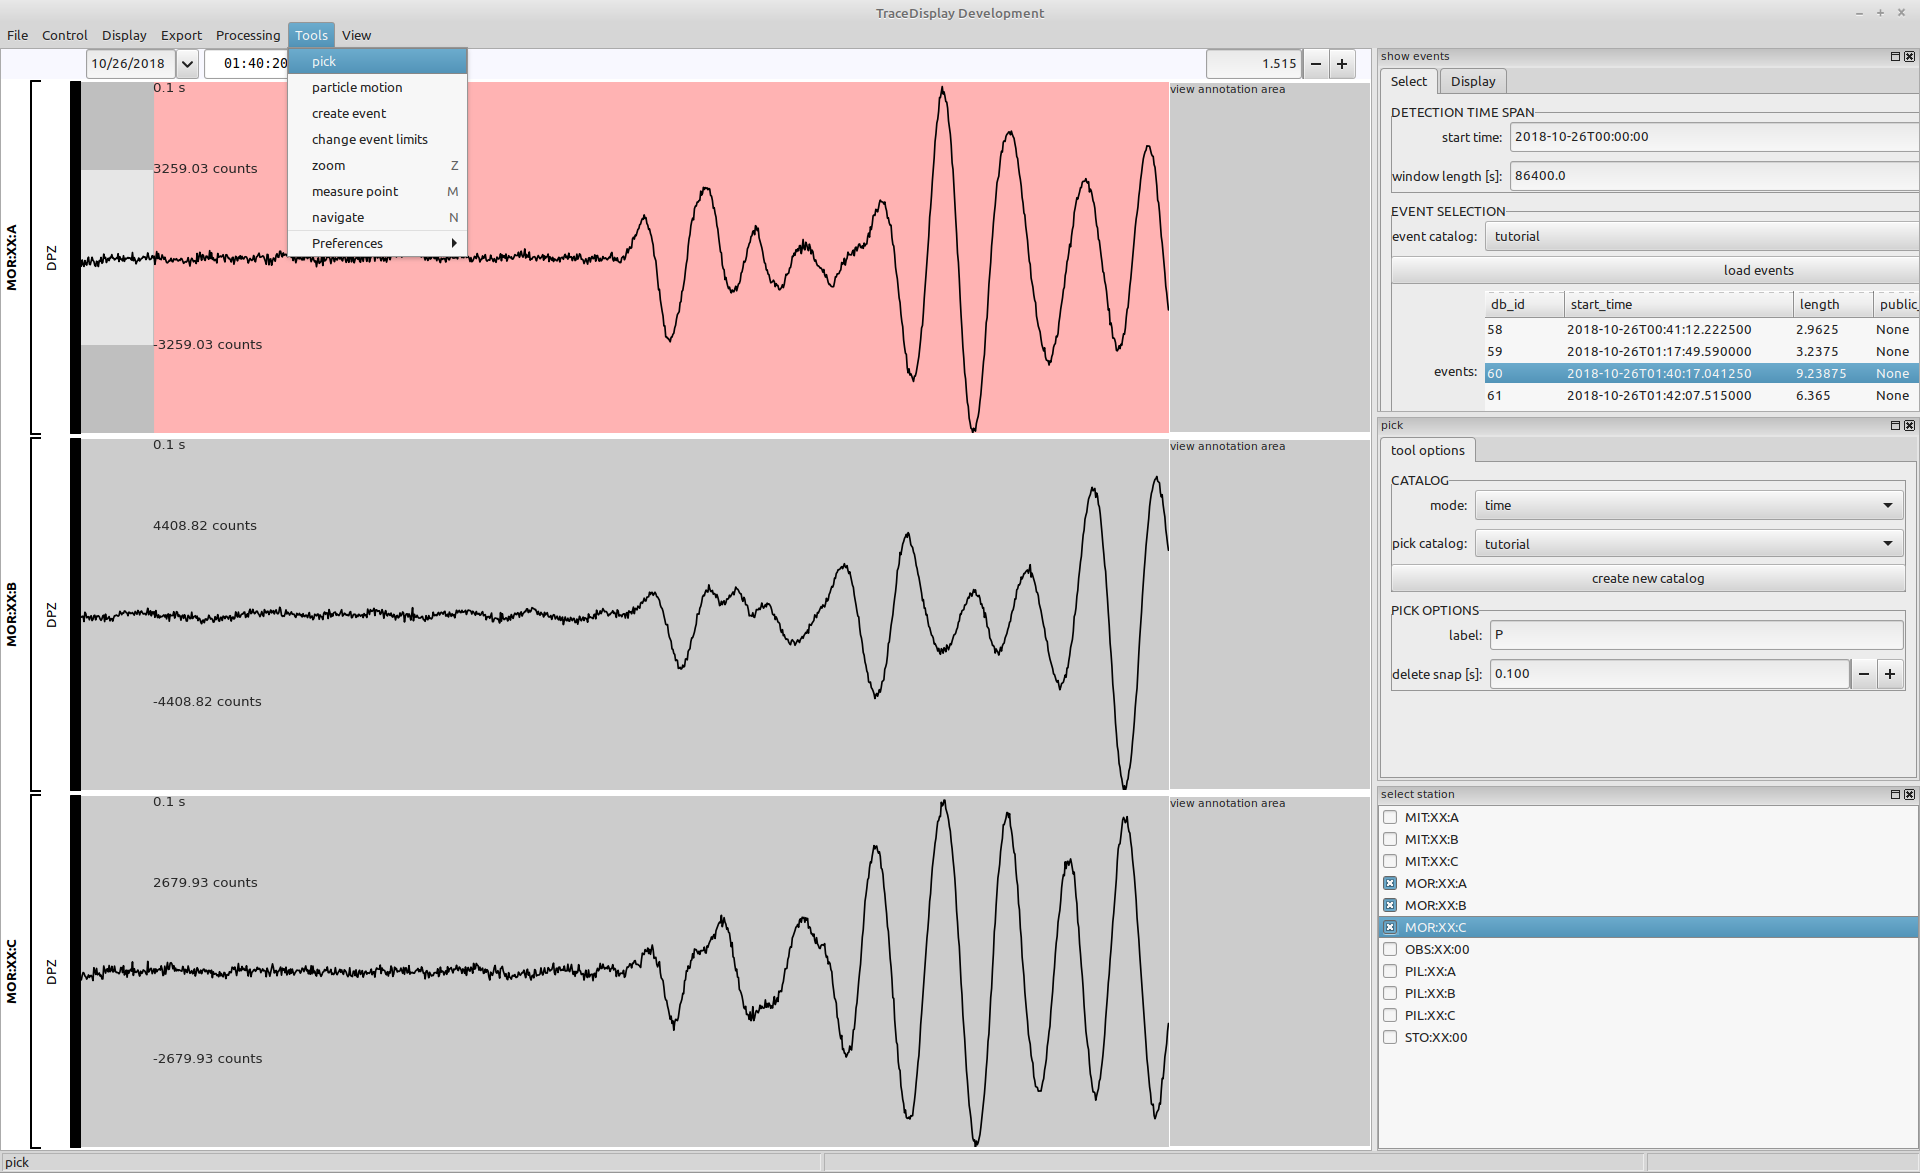
Open the event selector using the menu Display->show events. Load the events for the day 2018-10-26 by setting the Detection time span parameters, selecting the tutorial event catalog, and clicking the load events button.
Select the event with id 60 and start_time 2018-10-26T01:40:17.041250 to display the corresponding seismogram data.
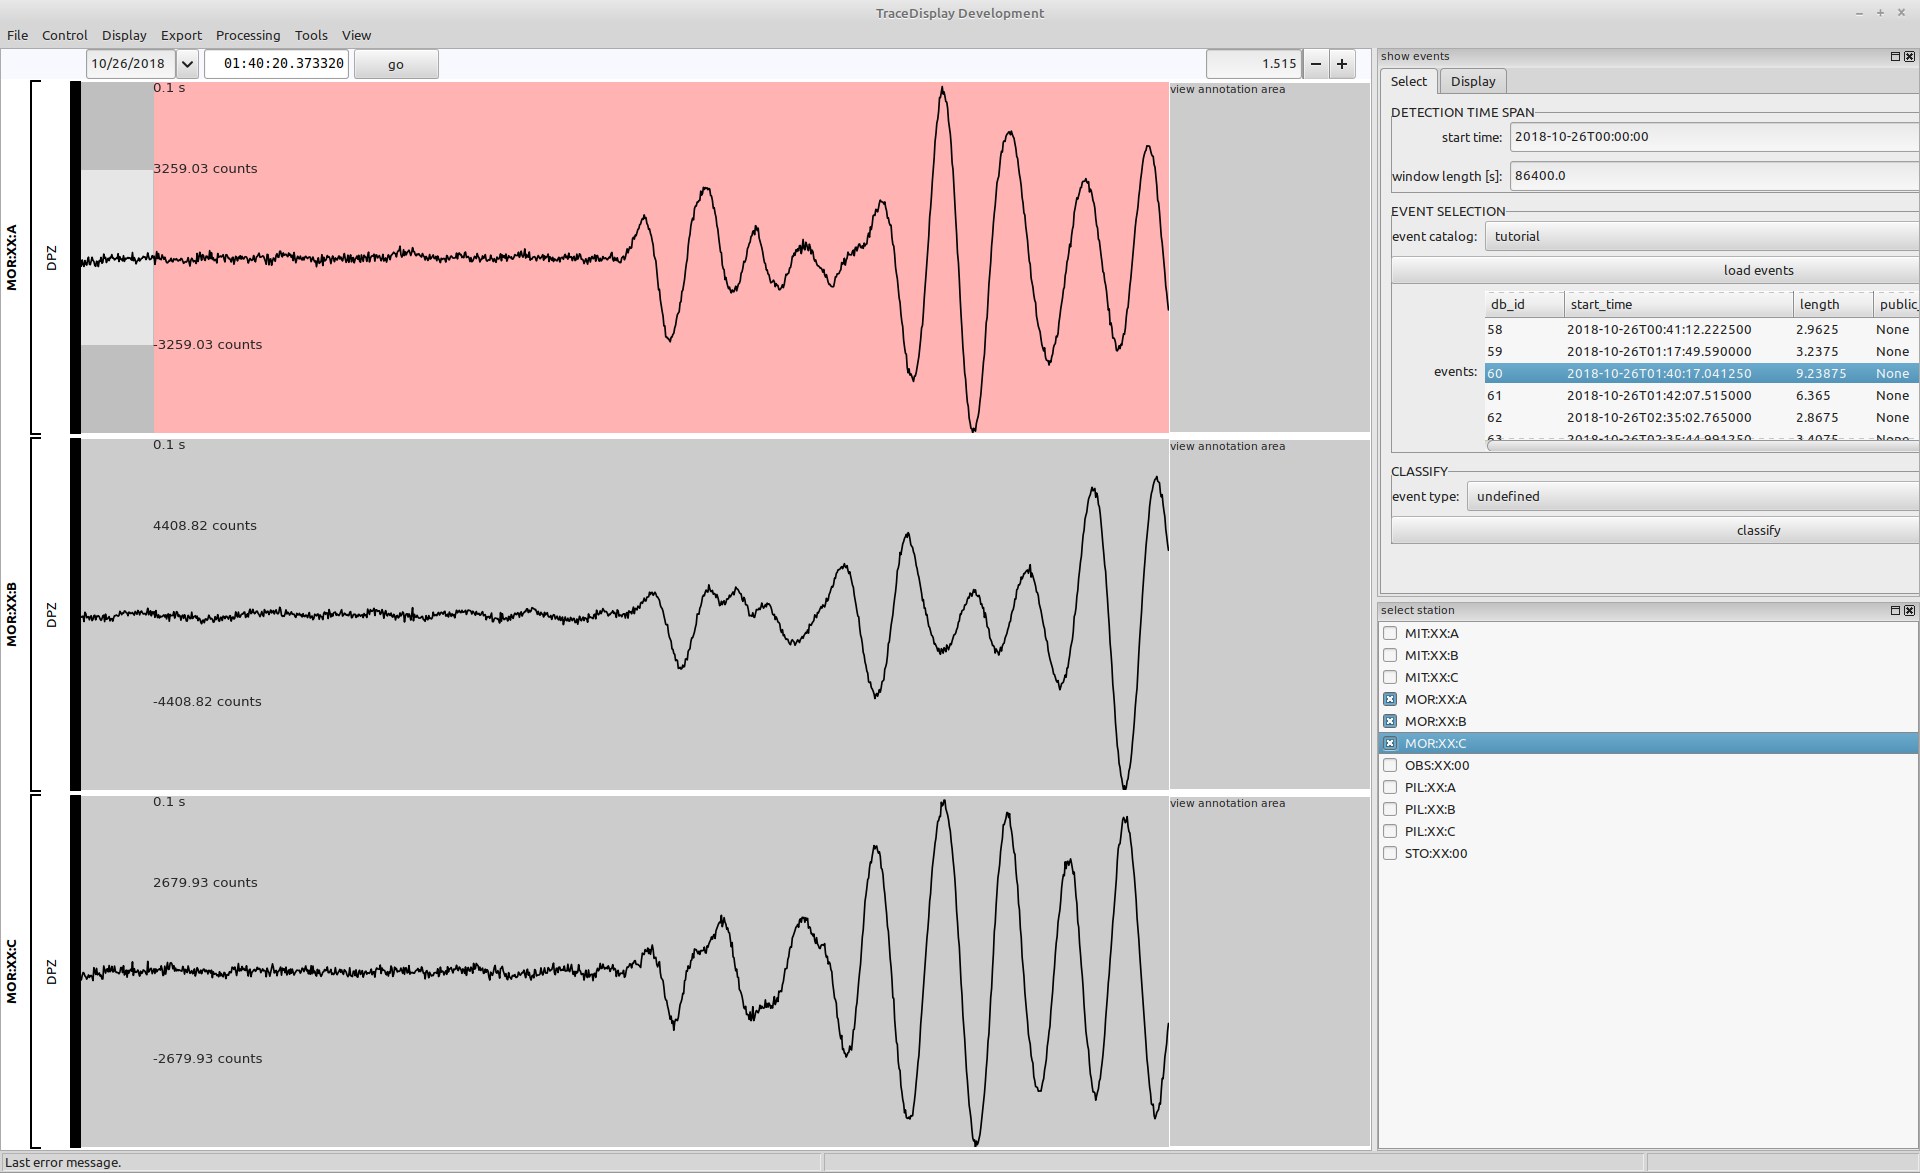
Display the MOR array
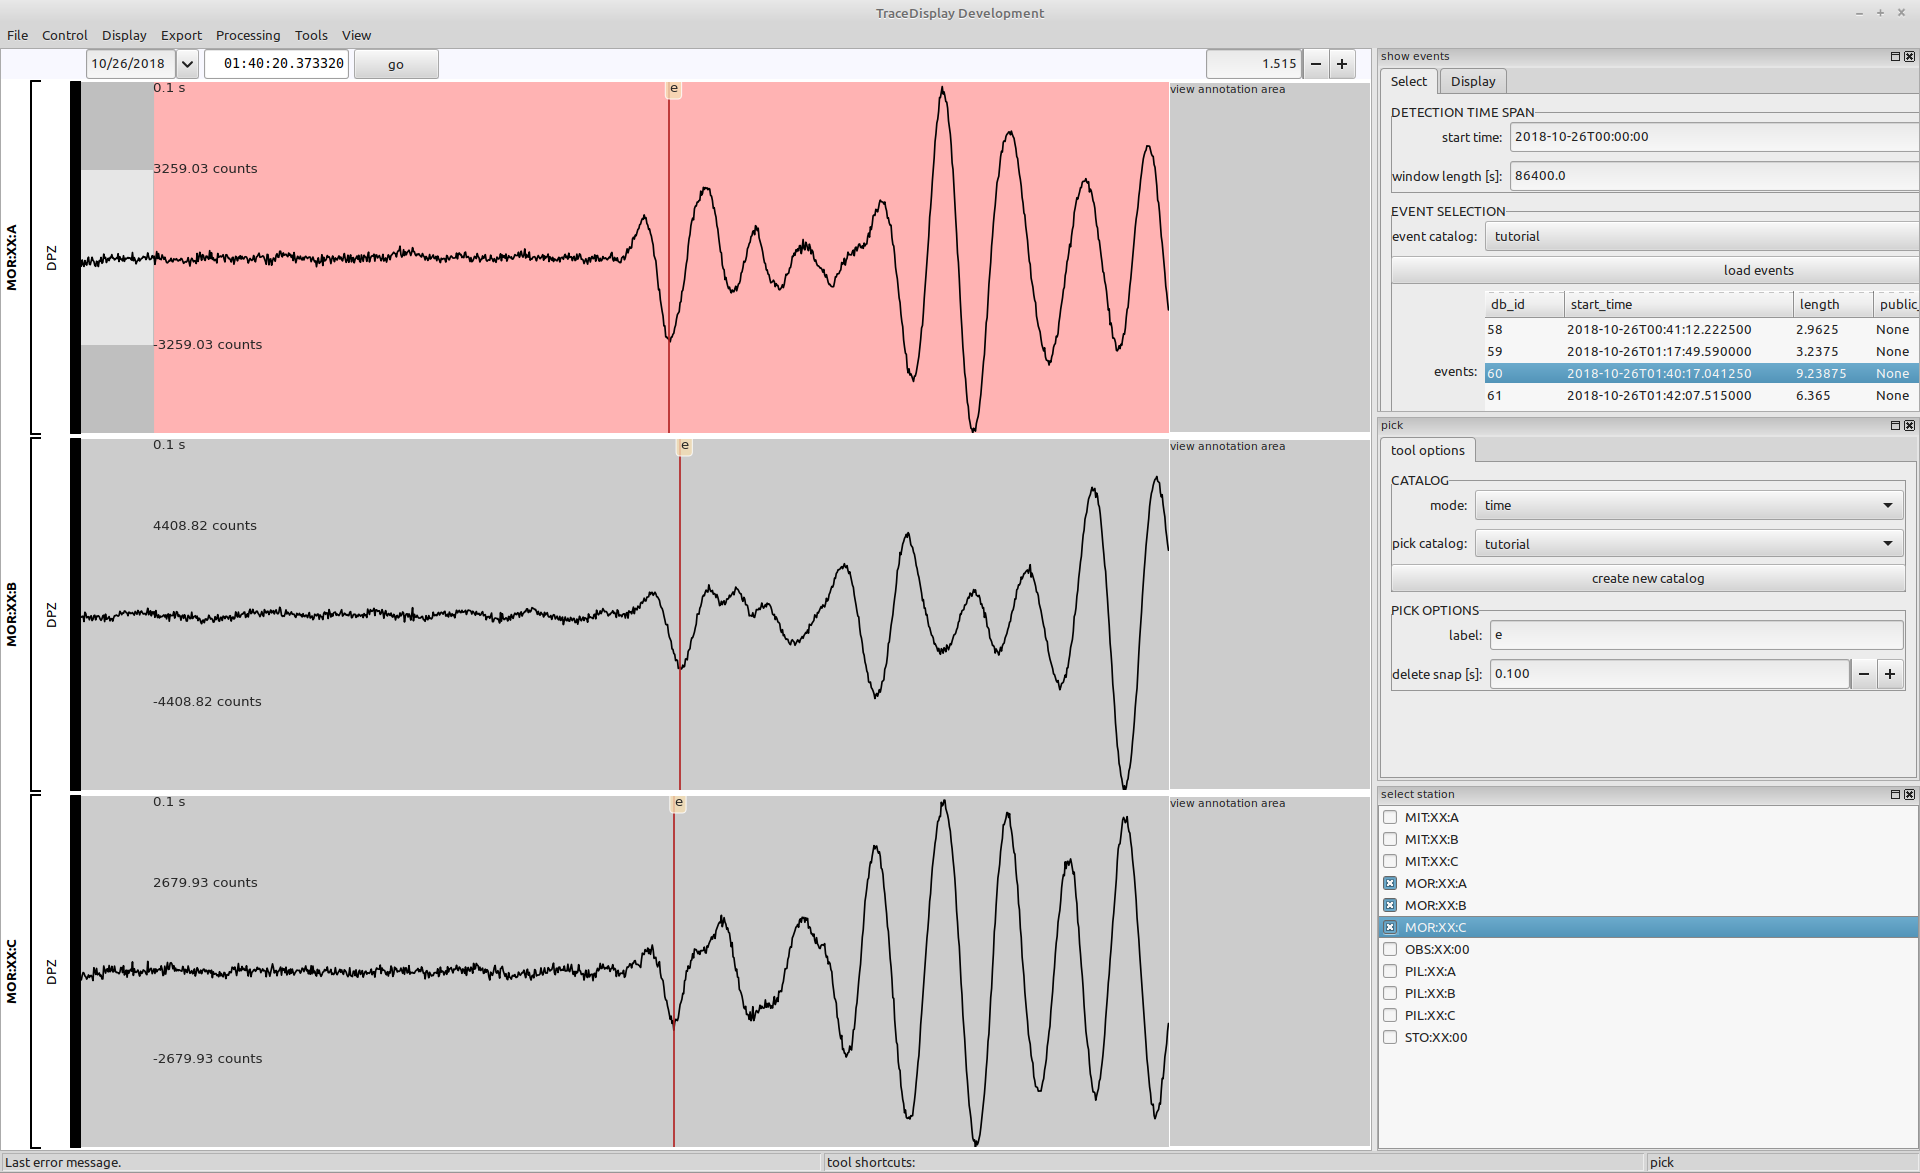
Open the station selector using the menu Display->select station. Select the 3 locations of the MOR array MOR:XX:A, MOR:XX:B and MOR:XX:C. Zoom into the second, larger signal of the event to better highlight the onset of this signal.
Configure the pick tool
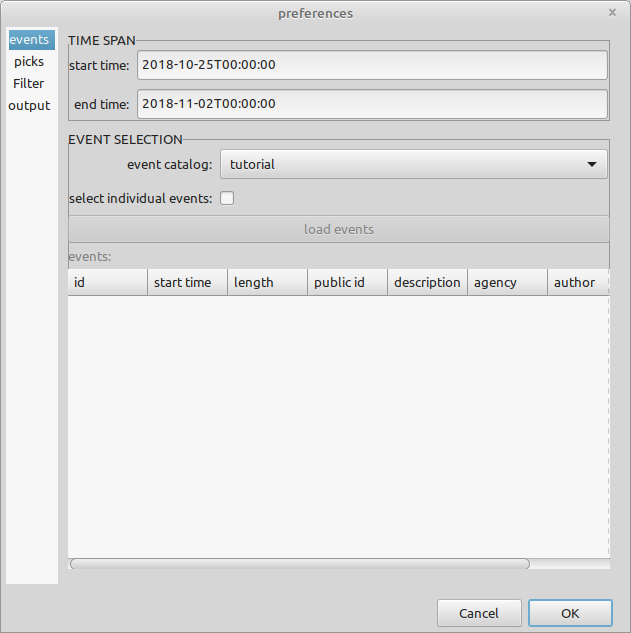
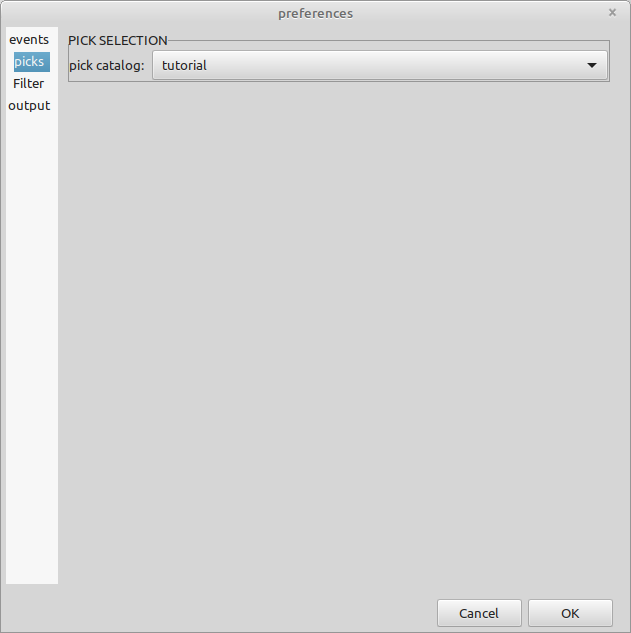
Open the pick tool preferences by selecting the menu Tools->Preferences->pick. The pick tool preferences will open in a docking frame. Initially, no pick catalog is available. You have to create one first to start picking in the seismogram views. Click the create new catalog to open the new catalog dialog. Enter the name tutorial and a description for the catalog. Confirm by clicking the OK button. The tutorial catalog should appear in the pick catalog dropdown menu. Select the tutorial catalog in this dropdown menu.
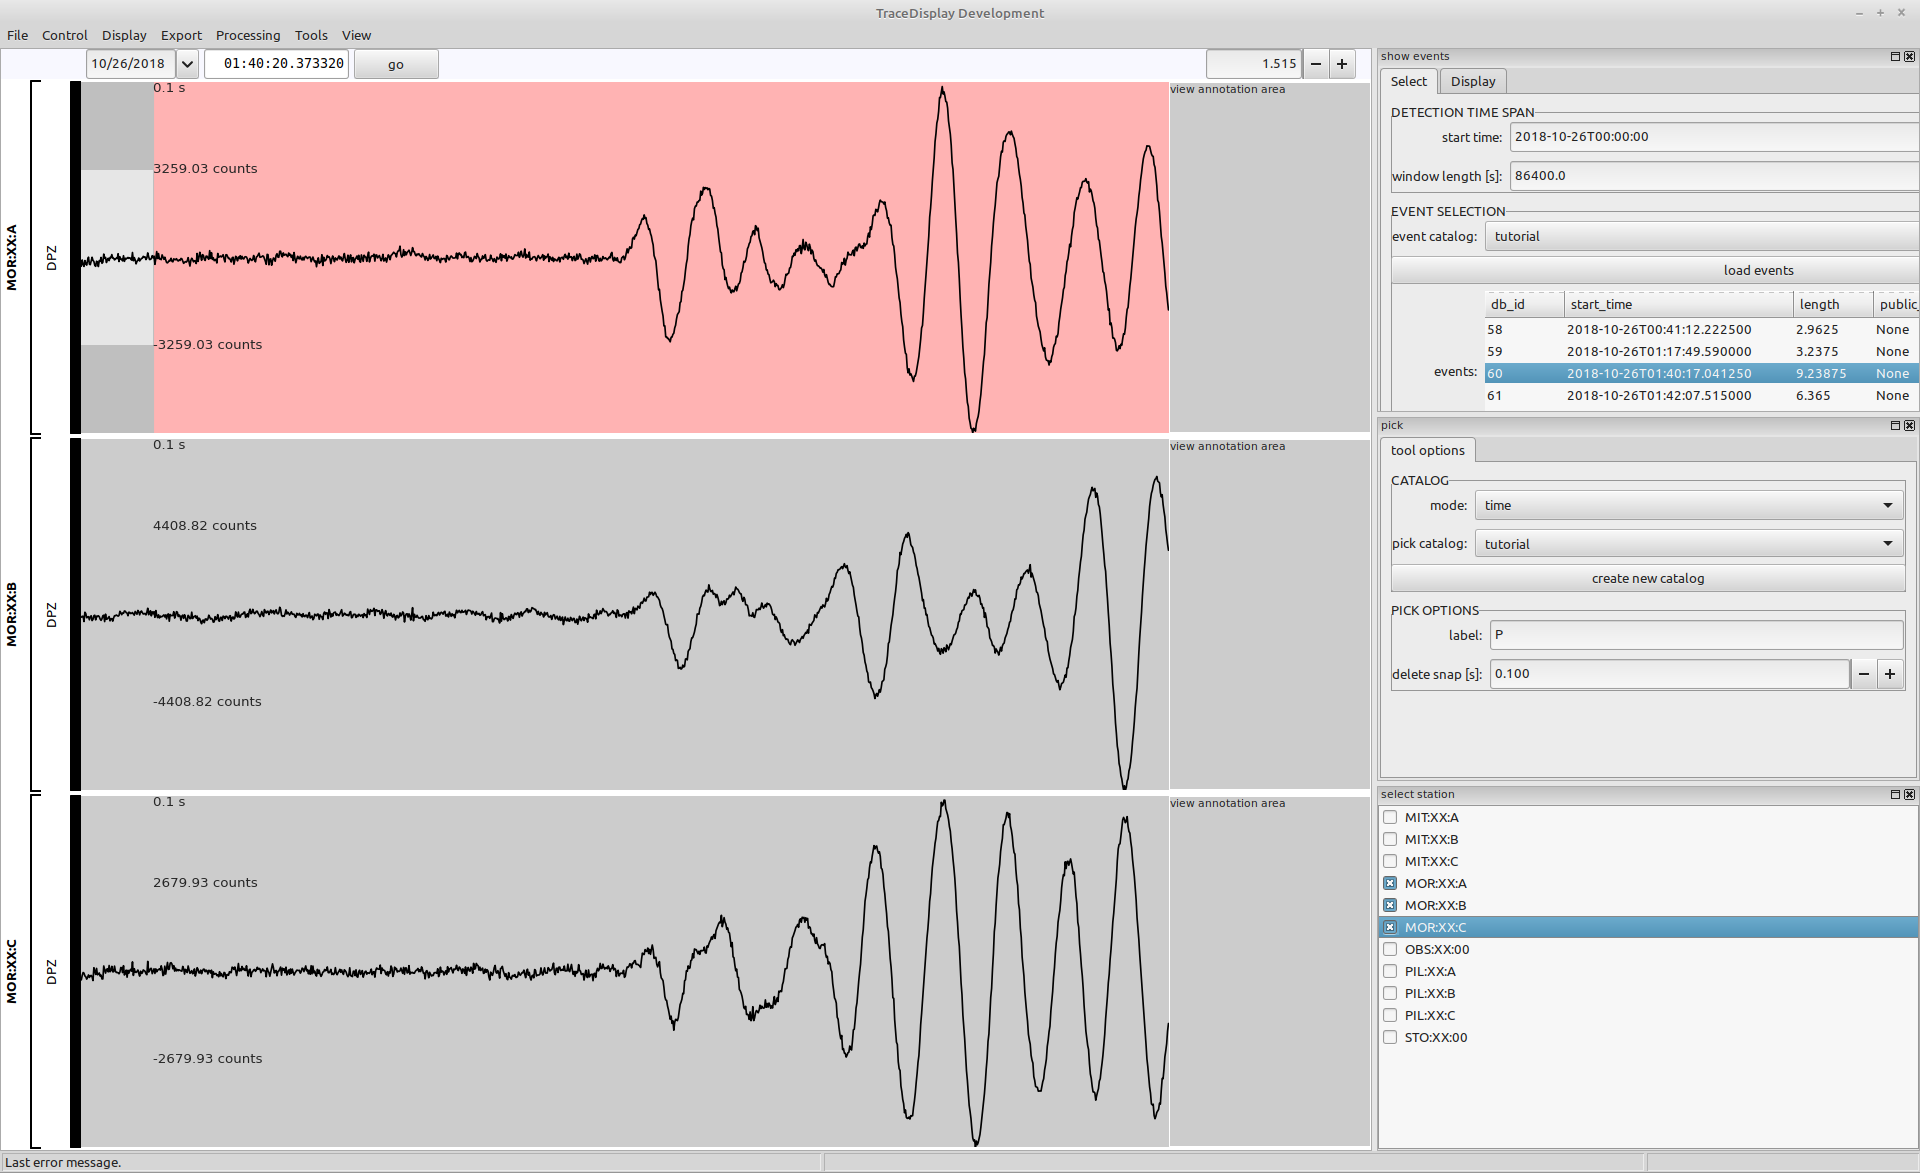
Activate the pick tool
Activate the pick tool using the menu Tools->pick. The cursor will change to a cross to indicate the active tool.
Create time picks
You will create picks labeled e (for event). Change the label in the pick preferences to e.
Next start picking in the seismogram views. The picks will be added as vertical lines with the label on top. The red color of the pick line indicates, that the pick is associated with an event.
Check picks in the database
When creating picks, they are immediately written to the database. You can check the related database tables using a mysql client.
stefan@hausmeister:~$ mycli -u tutorial
Connecting to socket /var/run/mysqld/mysqld.sock, owned by user mysql
Password:
MariaDB 10.3.34
mycli 1.25.0
Home: http://mycli.net
Bug tracker: https://github.com/dbcli/mycli/issues
Thanks to the contributor - Darik Gamble
MariaDB tutorial@(none):(none)> use psysmon_tutorial;
You are now connected to database "psysmon_tutorial" as user "tutorial"
Time: 0.001s
MariaDB tutorial@(none):psysmon_tutorial> select * from tutorial_pick_catalog;
+----+----------+------+---------------------+------------+------------+----------------------------+
| id | name     | mode | description         | agency_uri | author_uri | creation_time              |
+----+----------+------+---------------------+------------+------------+----------------------------+
| 1  | tutorial | time | The tutorial picks. | mr         | sm         | 2022-08-16T10:54:28.434033 |
+----+----------+------+---------------------+------------+------------+----------------------------+
1 row in set
Time: 0.026s
MariaDB tutorial@(none):psysmon_tutorial> select * from tutorial_pick;
+----+------------+-----------+-------+-------+--------------------+----------+--------+--------------+--------+------------+------------+----------------------------+
| id | catalog_id | stream_id | ev_id | label | time               | amp1     | amp2   | first_motion | error  | agency_uri | author_uri | creation_time              |
+----+------------+-----------+-------+-------+--------------------+----------+--------+--------------+--------+------------+------------+----------------------------+
| 1  | 1          | 10        | 60    | e     | 1540518021.1924999 | -3070.06 | <null> | <null>       | <null> | <null>     | <null>     | 2022-08-16T10:52:25.067729 |
| 2  | 1          | 11        | 60    | e     | 1540518021.2075    | -2650.64 | <null> | <null>       | <null> | <null>     | <null>     | 2022-08-16T10:52:27.414629 |
| 3  | 1          | 12        | 60    | e     | 1540518021.19875   | -1792.85 | <null> | <null>       | <null> | <null>     | <null>     | 2022-08-16T10:52:30.580473 |
+----+------------+-----------+-------+-------+--------------------+----------+--------+--------------+--------+------------+------------+----------------------------+

3 rows in set
Time: 0.020s
MariaDB tutorial@(none):psysmon_tutorial> exit
Goodbye!
stefan@hausmeister:~$
Export the picks
Load the export collection. Disable the export event and event looper node. Finally add the export event picks node to the collection.
- Note
- The
export eventsandexport event picksare currently standalone collection nodes. In the future, they will very likely be transformed to looper child nodes, so that they can be used in the standard looper based workflow.
Create the output directory
For the event picks export you should create the directory event_picks in the tutorial directory structure.
stefan@hausmeister:~/tutorial$ cd psysmon_output
stefan@hausmeister:~/tutorial/psysmon_output$ mkdir event_picks
stefan@hausmeister:~/tutorial/psysmon_output$ tree -L 1
.
├── availability
├── event_amp_parameters
├── event_data
├── event_list
├── event_picks
├── ppsd
├── psd_data
└── psd_images

8 directories, 0 files
stefan@hausmeister:~/tutorial/psysmon_output$
Configure the export event picks node
As you only have the picks for one event, you don’t have to care about the amount of picks exported. Select the whole tutorial time span to export all available picks.
events
Select the events for which to export the picks. Use the complete time span of the tutorial data set and select the tutorial event catalog.
| parameter | value |
|---|---|
| start time | 2018-10-25T00:00:00 |
| end time | 2018-11-02T00:00:00 |
| event catalog | tutorial |
picks
Select the tutorial pick catalog.
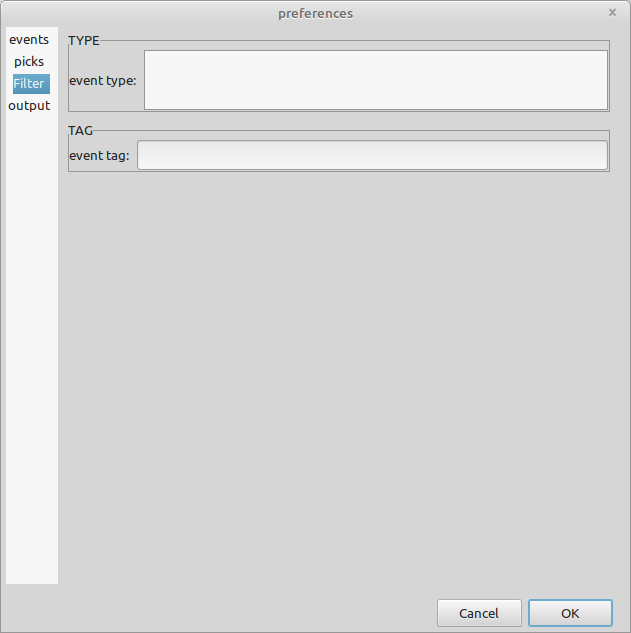
filter
Don’t use any filters. Use the empty default values.
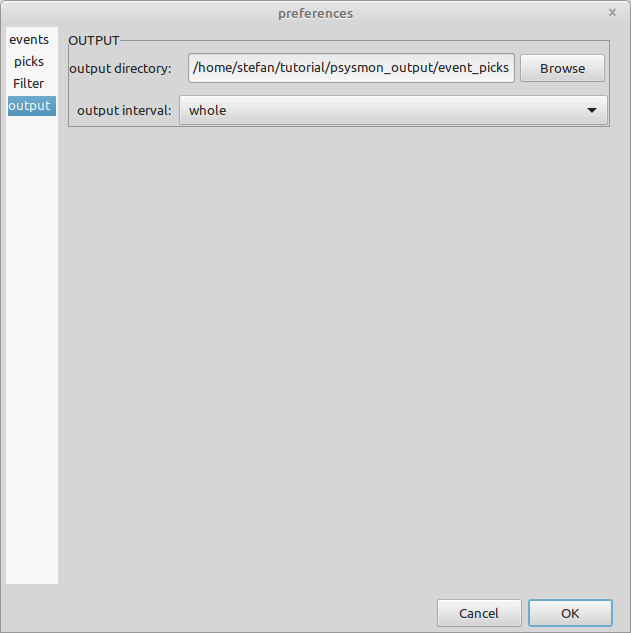
output
Select the path to the event_picks directory in your tutorial directory structure.
Close the export event picks preferences window.
Export the picks to CSV
Make sure, that the export event and event looper nodes are disabled and only the export event picks is enabled. Click the execute button to run the collection. The event picks will be saved in a CSV file in the specified output directory.
stefan@hausmeister:~/tutorial/psysmon_output$ cd event_picks
stefan@hausmeister:~/tutorial/psysmon_output/event_picks$ tree -L 3
.
└── smi-mr.sm-psysmon-tutorial-export_20220816_134357_310456-export_event_picks
    ├── event_picks
    │   └── event_picks_60_20181026T014017041250_20181026T014026280000.csv
    └── execution_metadata.json

2 directories, 2 files
stefan@hausmeister:~/tutorial/psysmon_output/event_picks$
Pick list example
The following listing gives the content of the exported picks CSV file.
id,event_id,event_public_id,event_start_time,event_end_time,network,station,location,channel,pick_label,time
1,60,smi:mr.sm.psysmon/tutorial/event/60-20181026T014017041250,2018-10-26T01:40:17.041250,2018-10-26T01:40:26.280000,XX,MOR,A,DPZ,e,2018-10-26T01:40:21.192500Z
2,60,smi:mr.sm.psysmon/tutorial/event/60-20181026T014017041250,2018-10-26T01:40:17.041250,2018-10-26T01:40:26.280000,XX,MOR,B,DPZ,e,2018-10-26T01:40:21.207500Z
3,60,smi:mr.sm.psysmon/tutorial/event/60-20181026T014017041250,2018-10-26T01:40:17.041250,2018-10-26T01:40:26.280000,XX,MOR,C,DPZ,e,2018-10-26T01:40:21.198750Z

Copyright © 2022 Stefan Mertl.
This article is licensed under a Creative Commons Attribution-ShareAlike 4.0 International license.
You are allowed to share the material, that means to copy and redistribute the material in any medium or format as long as you give appropriate credit to the creator and add the link to the license. You are allowed to adapt, that means to remix, transform, and build upon the material. If you adapt the material, you must distribute your contributions under the same license as the original.
If possible, please cite this article using the following form:
Psysmon Documentation, Sonnblick Events, "Event picking", Stefan Mertl, 2022-08-27, www.mertl-research.at, licensed under CC BY-SA 4.0